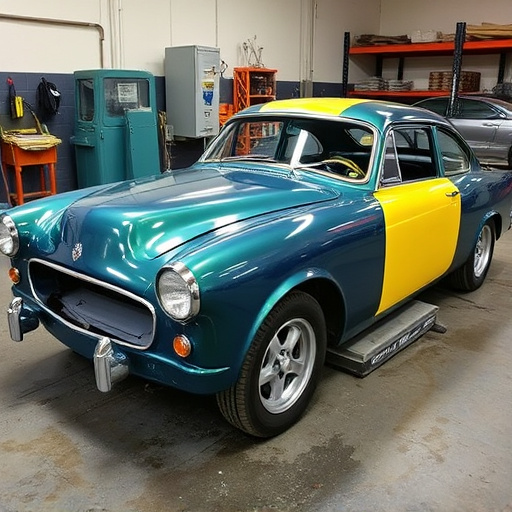


The Mercedes Headlamp Assist System uses sensors and OEM tools for precise calibration, optimizing headlight performance and safety based on driving conditions. This process ensures improved visibility without compromising safety or vehicle aesthetics, akin to meticulous auto body repairs. Calibration involves workspace prep, initial scans, adjustments in aim, intensity, and beam pattern, followed by test drives until optimal function is achieved.
Mercedes’ cutting-edge Headlamp Assist System enhances driving safety with adaptive lighting, keeping headlights aimed correctly. This system requires periodic calibration for optimal performance. Using Original Equipment Manufacturer (OEM) tools ensures precise adjustments, ensuring the system functions flawlessly. This guide provides a step-by-step approach to calibrating your Mercedes headlamps using OEM tools, maintaining both vehicle efficiency and driver safety.
- Understanding Mercedes Headlamp Assist System
- The Role of OEM Tools in Calibration Process
- Step-by-Step Guide to Efficient Calibration
Understanding Mercedes Headlamp Assist System
The Mercedes Headlamp Assist System is an advanced driver-assistance feature designed to optimize headlight performance and enhance road safety. This innovative system automatically adjusts the headlamps’ aim and intensity based on various driving conditions, ensuring optimal illumination while reducing glare for other drivers. By using sensors and cameras, it detects changes in vehicle height, incline, and weather conditions, adjusting the headlights accordingly for maximum effectiveness. This calibration process is crucial to ensure that the Mercedes headlamp assist works seamlessly, providing drivers with improved visibility without compromising safety.
Mercedes headlamp assist calibration involves a precise procedure to fine-tune these adjustments. Original Equipment Manufacturer (OEM) tools are specifically designed to conduct this calibration, ensuring the system operates at peak performance. Using these specialized tools, technicians can adjust parameters such as vertical and horizontal aim, light distribution, and intensity, catering to individual vehicle requirements. Maintaining proper headlamp assist calibration not only improves driving safety but also prevents issues like excessive glare or inadequate lighting that could be attributed to improper adjustments. It’s akin to ensuring a car dent removal expert uses the right tools for precise repairs, resulting in a flawless auto body shop finish.
The Role of OEM Tools in Calibration Process
The use of Original Equipment Manufacturer (OEM) tools is paramount in the delicate process of Mercedes headlamp assist calibration. These specialized tools are meticulously designed to align with the vehicle’s intricate systems, ensuring precise adjustments and a seamless integration of advanced lighting technologies. By employing OEM tools, technicians can achieve the desired accuracy required for optimal headlamp performance without compromising the vehicle’s overall system harmony.
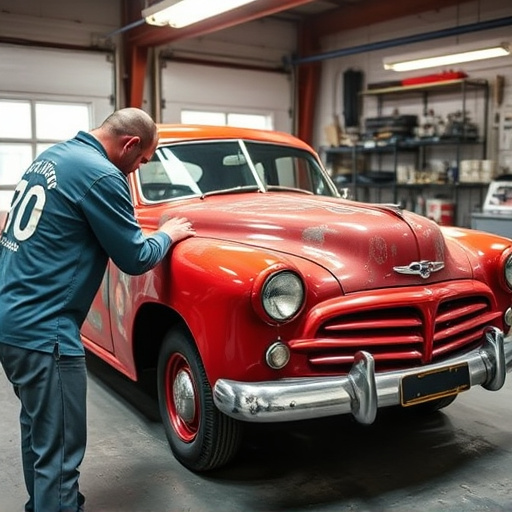
Moreover, the precision offered by these tools is invaluable when addressing modern vehicle features like paintless dent repair or even collision center restoration work. The ability to calibrate with such finesse guarantees not only the functionality of safety-critical systems but also maintains the vehicle’s aesthetics, ensuring it exits the workshop in as good—if not better—condition than when it entered.
Step-by-Step Guide to Efficient Calibration
Conduiting Mercedes headlamp assist calibration using OEM tools involves a meticulous process designed to ensure optimal vehicle performance and safety. Here’s a step-by-step guide for efficient calibration, tailored for collision repair centers and dedicated car bodywork professionals.
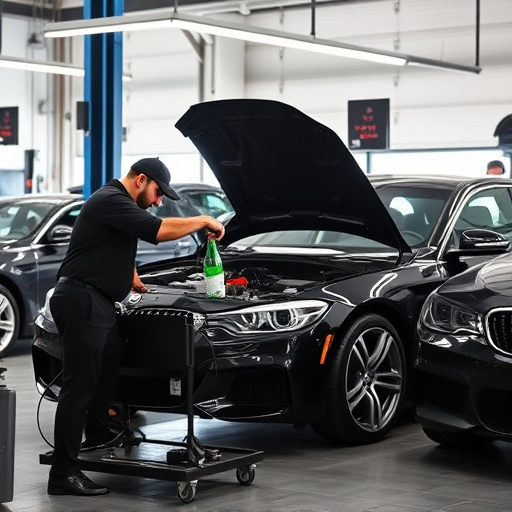
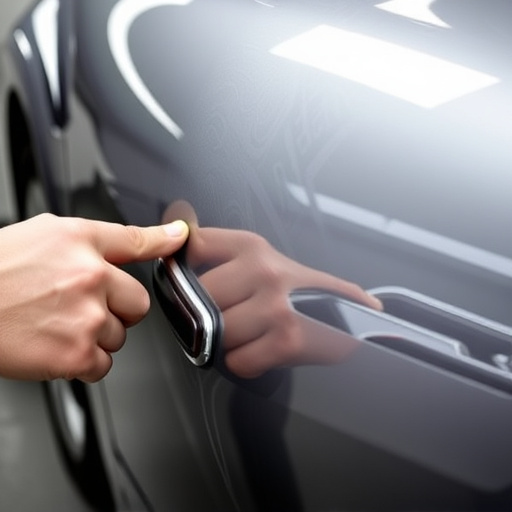
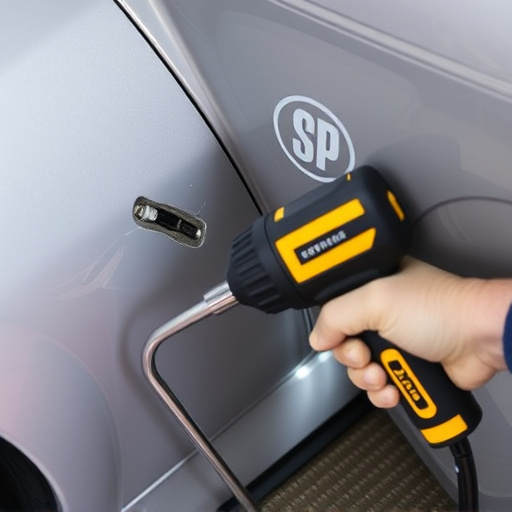
1. Preparation: Begin by ensuring your workspace is well-lit and free from debris. Put on protective gear, including gloves and safety goggles, to prevent accidental exposure during the calibration process. Connect the OEM calibration tools to your vehicle’s diagnostic port, making sure all sensors are powered off.
2. Initial Scan: Perform an initial scan using the OEM tool to retrieve the current settings of the Mercedes headlamp assist system. Compare these data points with the manufacturer’s specifications as a baseline for adjustments. Verify that no error codes are present in the vehicle’s computer, indicating any potential issues before proceeding. Next, select the calibration mode within the tool’s interface and follow on-screen instructions to initiate the process. This step may involve adjusting the headlamp aim, intensity, and beam pattern. Once satisfied with the initial calibration, conduct a test drive to assess the system’s performance. Make note of any discrepancies or areas that require fine-tuning. Repeat the calibration process until the Mercedes headlamp assist functions precisely as intended, ensuring both safety and legal compliance for on-road use.
Mercedes headlamp assist calibration using Original Equipment Manufacturer (OEM) tools is a precise and efficient process, crucial for maintaining optimal vehicle performance. By following a systematic approach outlined in this guide, including understanding the system, leveraging OEM tools, and executing each step carefully, you can ensure your Mercedes’ headlamp assist functions accurately. This ensures enhanced safety and driving experience, demonstrating why proper calibration is not just recommended but essential for any Mercedes owner.